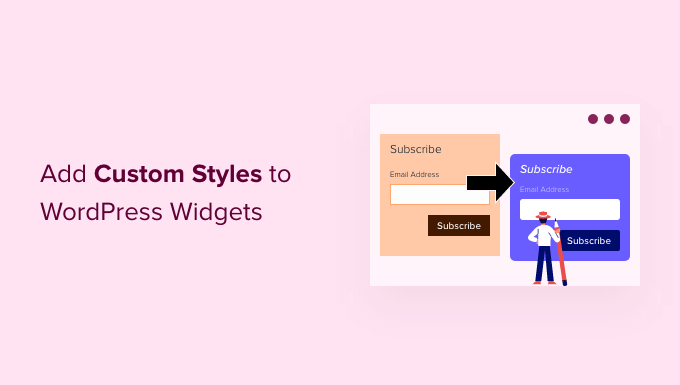
Want to make your WordPress widgets stand out? While widgets are great for adding extra content to your site, the default styling often doesn’t match your brand or grab visitors’ attention.
Take our sidebar widgets, for example. We’ve customized their appearance to highlight important resources and make them blend seamlessly with our site’s design. It’s one of the easiest ways to enhance your website’s professional look.
In this guide, we’ll show you two simple methods to style your WordPress widgets, whether you’re comfortable with a bit of CSS or prefer a no-code solution.
We’ll show you 2 ways to customize your WordPress widgets with custom styles. You can use these quick links to skip to the one that works best for you:
Method 1: Style WordPress Widgets With CSS Code
WordPress widgets now use the block editor to add a new widget and block to widget areas and sidebars. That means, you will see some block styling options for some of the default WordPress blocks.
For example, if you go to the Appearance » Widgets page and click on a default WordPress block, you will see options to change the block’s colors and typography.
However, not all blocks come with these widget options, especially if these blocks are not default WordPress ones. Thankfully, one of the advantages of using the block editor for widgets is that you can easily add custom CSS classes to each block.
All you need to do is simply click on the widget where you want to add custom styles.
Next, you need to scroll down to the ‘Advanced’ tab under the Block panel. From here, you can add a custom CSS class.
Don’t forget to save your widget settings by clicking on the ‘Update’ button.
Now, you can add custom CSS to your WordPress theme targeting that particular CSS class.
Simply go to Appearance » Customize page and switch to the Additional CSS tab. There, you will see a live preview of your website with a box to add your CSS rules.
Another way to add custom CSS is with WPCode. We recommend using this if you have a lot of custom CSS code already in your theme and want to easily differentiate and track all of the snippets.
First, make sure to install the WPCode plugin. For step-by-step instructions, you can read our guide on how to install a WordPress plugin.
Next, go to Code Snippets » + Add Snippet and select ‘Add Your Custom Code (New Snippet). Then, click the ‘+ Add Custom Snippet’ button.
Now, give your new custom CSS a name. It can be something simple like ‘Custom Widget Style.’
Then, change the Code Type to ‘CSS Snippet.’
Next, go ahead and add your custom CSS in the field.
Here is some basic CSS we used:
.latest-articles {
background-color:#def4f1;
padding:10px;
}
Once done, just scroll down to the Insertion section. Make sure the Insert Method is set to ‘Auto Insert’ and the Location is ‘Site Wide Header.’
After that, toggle the button at the top right corner until it says ‘Active’ and click ‘Save Snippet.’
After adding your custom CSS, you can view your WordPress website on mobile or desktop to see it in action.
Here’s what ours looks like on our demo WordPress site:
Method 2: Style WordPress Widgets With CSS Hero (No Code)
One problem with the above method is that you need to write CSS code. However, not all users know CSS or just don’t want to write code themselves.
In that case, you can use CSS Hero. It is a custom WordPress styling plugin that allows you to add custom CSS to your WordPress theme without writing any code.
You can learn more about the plugin in our CSS Hero review.
First, you need to install and activate the CSS Hero plugin. For more details, see our step-by-step guide on how to install a WordPress plugin.
Upon activation, the plugin will add a new menu item to your WordPress admin toolbar at the top.
Next, you need to visit the page where you can see the widget you want to style and click on the CSS Hero button at the top.
This will open the page in the CSS Hero editor interface.
It is a live editor where you can simply point and click on any item on your website and change its style.
Simply take your mouse over to the widget that you want to style. Then, click to select it.
In this example, we selected our Search widget.
After that, you can use the menu on the left to style your widget any way you want. This includes advanced styling options like gradients, typography, padding, margins, and borders.
In the example below, we changed the font size of the WordPress Search widget so that it stands out even more.
You can also change specific elements of the widget if needed.
For instance, we decided to change the border radius of the button and search fields. This way, they look more curved and stylish.
Once you are finished, don’t forget to click the ‘Save’ button to store your settings.
Then, go ahead and preview your website to see your new WordPress design in action.
We hope this article helped you learn how to add custom styles to WordPress widgets. You may also want to see our pick of the best drag-and-drop page builders for WordPress and our pros and cons comparison between free vs premium WordPress themes.
If you liked this article, then please subscribe to our YouTube Channel for WordPress video tutorials. You can also find us on Twitter and Facebook.


