By default, WordPress shows previous and next post links at the bottom of each post to help with navigation.
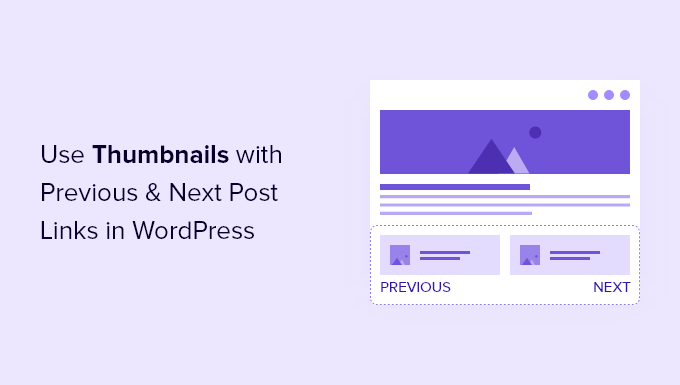
Adding thumbnails to these links can make a big difference to your WordPress blog’s user experience. This simple change can catch your reader’s eye and keep them on your site longer.
In this guide, we’ll show you step by step how to add thumbnails to previous and next post links in WordPress – no coding skills required! 🚀
Why Display Thumbnails With the Previous and Next Post Links?
Your WordPress blog offers some helpful features to help visitors find new content and navigate your site. These features include:
Another helpful navigation feature is found at the bottom of each WordPress blog post. There, you will find links to your site’s previous and next posts.
These links build user engagement because when visitors finish reading one blog post, they might look for something else to read. However, if you add thumbnails, the links will look more interactive.
It’s also a great way to bring attention to your best-performing or popular blog posts.
For example, you may have pillar content that is already driving a ton of traffic and converting those readers into email subscribers. Adding thumbnails with post links would only help you build your email list and grow your small business.
With that in mind, we’ll show you how to add thumbnails to the previous and next post links in WordPress. Here’s all the topics we’ll cover in this article:
Let’s get started!
Using Thumbnails with Previous and Next Post Links in WordPress
To add thumbnails to your previous and next post links, you’ll have to add code to your WordPress theme’s files. If you haven’t done this before, then see our guide on how to copy and paste code in WordPress.
Adding Code Using WPCode
The first step is to add the following code snippet using WPCode, the best code snippets plugin. It allows you to add code without breaking your site and comes with plenty of ready-made templates, so you don’t have to write code from scratch.
💡 We use WPCode to create and manage custom code snippets. It has worked incredibly well for us. You can check out our complete WPCode review to explore its features!
To get started, you’ll need to install and activate the WPCode plugin. If you need help, you can check out our article on how to install a WordPress plugin.
From there, go to the Code Snippets » + Add Snippet page. Then click on ‘Add New.’
You’ll be taken to a code snippet library, where you can choose from a wide variety of pre-made templates.
However, to add thumbnails to the previous and next post links, we’ll upload a string of custom code. So, let’s click on ‘Use Snippet’ under ‘Add Your Custom Code.’
✋ You can use the WPCode free version to add a custom snippet, but upgrading to WPCode Pro gives you access to the full code revision history and scheduling features.
The next step is to give the code snippet a name so that you can refer back to it later.
Then, simply copy the following code into the WPCode text editor. Make sure to select ‘PHP Snippet’ as the ‘Code Type.’
function wpb_posts_nav(){
$next_post = get_next_post();
$prev_post = get_previous_post();
if ( $next_post || $prev_post ) : ?>


